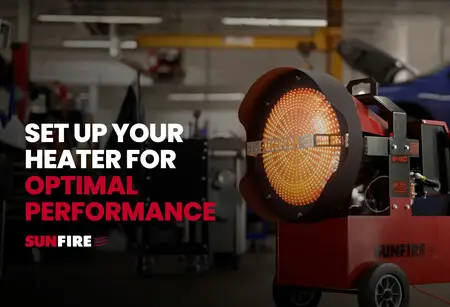
How to Properly Test and Set Up Your New SunFire Heater for Optimal Performance

Ensuring your new SunFire heater runs smoothly from day one is essential for optimal performance and safety. With the right setup and proper testing, you can enjoy powerful, clean, and reliable heat in any environment. Follow these steps to properly test and set up your SunFire heater:
1. Inspect and Assemble Your Heater
Before running your heater, it’s important to complete a thorough inspection. SunFire heaters like the SF80, SF120, and SF150 are shipped mostly assembled, but certain components, such as legs, guards, or handles, may need to be installed. Use the tools provided to securely attach these parts, ensuring everything is tightened properly to maintain stability.
2. Fuel Selection and Filling the Tank
SunFire heaters are designed to operate on diesel, kerosene, or No. 2 fuel oil. Ensure you select clean, high-quality fuel, as this will prevent clogging or damage to the nozzle and fuel system. Fill the fuel tank to the indicated level. Use caution to avoid overfilling, if overfilled wipe off any fuel spillage before firing.
3. Prime the Fuel System
Before the heater can ignite, you’ll need to prime the fuel system. This is especially important for a new unit or after refilling an empty tank. Connect the heater to a grounded power source. Hold down the PRIME switch located on the back of the burner until the system is purged of air and fuel begins flowing smoothly through the return line. If you’re having trouble, it might take more than one priming cycle to get the system fully ready.
4. Power On and Pre-Ignition Check
Once the fuel system is primed, toggle the control switch to the ON position. The blower will engage and run for about 15 seconds before ignition, allowing time for the pre-purge phase. This cycle ensures that any remaining fuel vapors are cleared, and that the heater is safely prepared to ignite.
5. Ignition and Testing
After ignition, the green light on the control panel should illuminate, indicating the flame sensor detects a proper flame. If the heater fails to ignite, check for issues such as clogged nozzles or air in the fuel line, and try resetting the heater using the reset button. Don’t press the reset button more than twice before troubleshooting further or contacting customer support.
6. Flame and Heat Adjustment
After the heater starts running, watch for any irregularities in the flame. A small amount of white smoke during ignition is normal, but persistent black smoke or large flames require immediate adjustment. The air band and fuel pressure may need to be fine-tuned to ensure a bright, orange glow without smoke. Before adjusting the air band,make note of the default factory setting. Adjust the air band by loosening the screw and increasing or decreasing airflow as necessary.
7. Post-Operation Cool Down
When shutting down your SunFire heater, turn the power switch to the OFF position, but do not immediately unplug the unit. Allow it to complete a post-purge cycle of about five minutes, which cools the burner and clears residual fuel vapors. This step helps prevent fire hazards and prolongs the heater’s lifespan.
8. Safety Checks and Ongoing Maintenance
For optimal performance, place your SunFire heater on a level, non-combustible surface, as uneven positioning can trigger the tip-over switch. Routine maintenance, such as cleaning the nozzle, replacing the fuel filter after every 200 hours of use, and inspecting the burner assembly, will ensure your heater continues to perform efficiently for years.
By following these steps, you can maximize the lifespan and efficiency of your SunFire heater while enjoying consistent warmth throughout the colder months. Always consult your user manual for detailed guidelines and safety instructions to ensure the best results.